
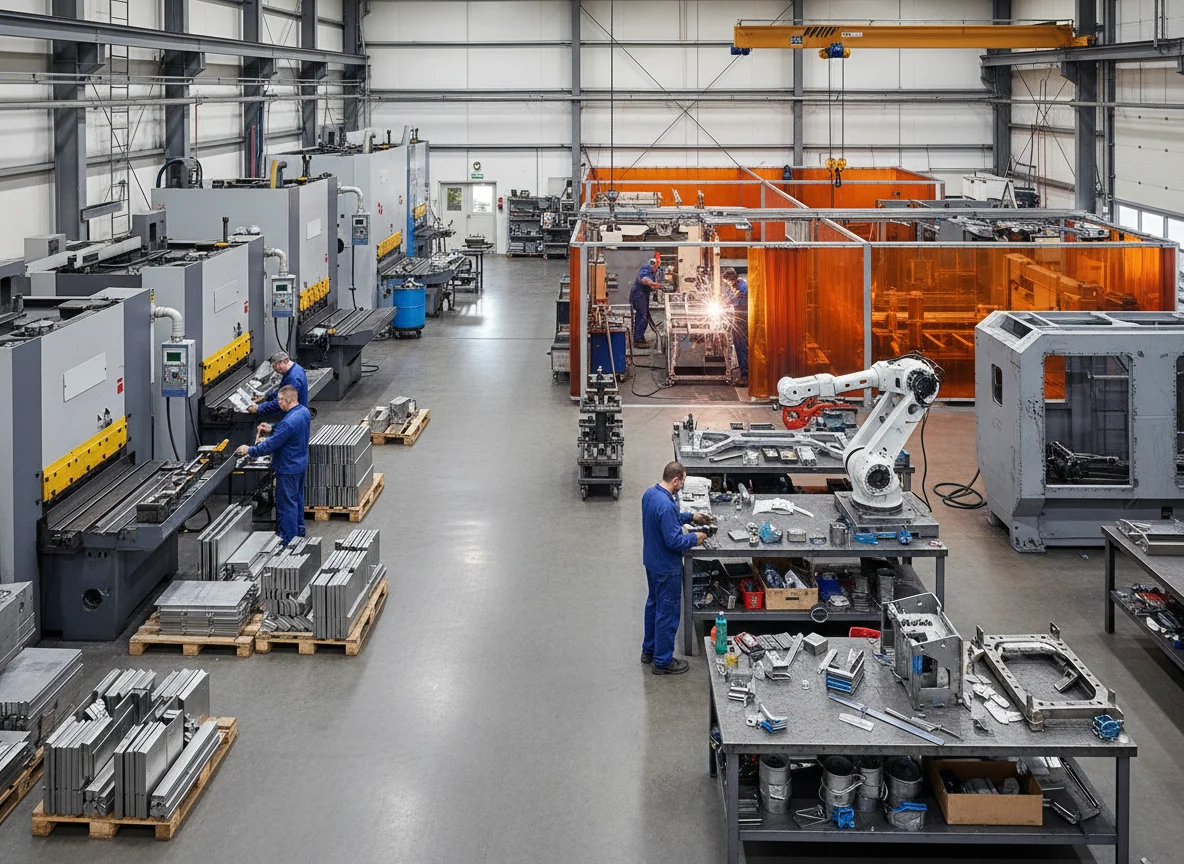
Which route fits the part in front of you: a single folded pressing, or a fabricated assembly made from several pieces? Ask that question before the quote request is written. A simple capping, trim or cover may only need a profile, fold directions, material and finish face. A housing, guard, frame or small enclosure needs the relationships between parts to be shown as well.
The decision is easiest when the two paths are visibly different. Pressing work follows a line from flat sheet to formed component. Assembly work follows a route from parts to joined object. If the enquiry does not show which path applies, the supplier may receive a drawing that is tidy on the page but unclear about what is being made.
Decision Point: Can One Formed Part Do the Job?
Start with the finished function. Aluminium pressings may sit in the same pack when the project names that material. Can the item do its job as one formed part, with no welded corners, fixed frame, secondary panel, removable face or joined body? If the answer is yes, a pressing-led route may be the cleaner starting point. That route suits edge pieces, channels, caps, linear trims, simple tray forms and covers where the value sits in repeatable bends.
A pressing brief should show the profile shape, fold directions, visible face, material family, finish notes, quantity and revision reference. Stainless steel pressings may sit beside a named stainless run. It should also show whether there are left and right hand versions. The sketch does not need to be decorative. It needs to make the folds, faces and edges easy to understand.
If the item relies on a project detail, keep that detail beside the pressing drawing. A formed component can be accurate to the supplied drawing and still be wrong for the project if the drawing leaves out clearances, junctions or finish orientation. That is why the first decision point is about the finished function, not only the service name.
Pressing Path: Draw the Single Component
For a pressing-led enquiry, keep the route narrow. Wesroof’s page for custom construction pressings describes made-to-measure flashings, gutters, downpipes and specialised trims for construction and building work, using project measurements and drawings. It also lists material families including Colorbond Steel, Zincalume, galvanised steel, stainless steel and aluminium options where appropriate.
That source supports a clear request for sheet metal pressings when the part is mainly a formed profile. Use the drawing to show the section, the outside face, any return direction and the finish side. If the same part repeats, group the quantities by drawing reference rather than using a vague total.
Pressed sheet metal can be useful for repeat work because the agreed profile can become the reference for later runs. The benefit is consistency of supplied shape, not a promise that every project condition has been checked by the fabricator. Keep the current revision, material and finish notes close to the profile so a small change is not mistaken for a repeat of the old item.
Assembly Path: Show the Joined Object
If the object is no longer one formed part, move to the assembly path. Steel roofing and building materials may sit in the same pack when sheets are listed. An assembly may include pressed pieces, cut panels, welded corners, brackets, frame pieces, guards, lids, openings, enclosures or supplied components that have to sit in a defined relationship. The important drawing is no longer only a section profile. It is the whole object and the way its parts meet.
Wesroof’s light fabrication page describes taking pressed, cut or supplied metal components and transforming them into finished assemblies through cutting, TIG or MIG welding and finishing techniques. It lists examples such as machine guards, stainless steel splashbacks, architectural frames, planter boxes, non-structural handrail systems, enclosures and housings.
That is the signpost for a fabricated assembly route. Provide an overall view, component list, join locations, finish expectations and any parts supplied by others. If an opening must stay clear, mark it. If a panel is removable, state that. If the item fits around existing equipment or a fit-out surface, provide the relevant envelope information without asking the fabricator to infer the purpose from a photograph alone. Wesroof keeps that with the fabrication enquiry.
Route Split: Pressing Notes Versus Assembly Notes
The two paths need different notes. Metal cladding can sit beside a related wall face. A pressing note says: profile, folds, face, material, finish, quantity and revision. An assembly note says: overall object, component list, joins, access points, openings, fixed or removable parts, finish and handover context. Mixing those notes can hide the information that matters most.
A Simple Cover Versus a Joined Cover
Consider a simple folded cover. Custom metal flashings and construction pressings may sit in the same pack when folded pieces are listed. If it has four bends and a visible colour face, the pressing route may be enough. Now consider a cover with a welded lid, bracket positions, ventilation holes and a removable panel. The drawing has moved from one profile to a small assembly. The quote request should move with it.
This split also protects simple jobs from being over-described. A linear trim should not be buried in a fabrication essay if all the workshop needs is the formed profile and finish side. Equally, a small enclosure should not be squeezed into a single pressing sketch if it needs joined corners, clear openings and a finished body.
Cover the Drawing Title
A useful way to check the split is to cover the drawing title and look only at the object. If the part can be understood by following one folded section from end to end, keep the request in the formed-component lane. If the object needs a front, back, sides, base, lid, bracket or frame to make sense, write it as an assembly. That visual route is often clearer than arguing over the label.
Shared Checks: Material, Finish and Revision
Both paths still share core checks. The FAQ covers how we take an enquiry and what we do not install. Material family should be named. Finish should be described by visible face, not only by colour. Quantity should be grouped by part or assembly, not hidden in a sentence. The latest drawing revision should be clear. If the item belongs to a roofing, cladding, equipment or fit-out package, the fabrication dimensions should be separated from design and installation decisions.
Wesroof’s public pages refer to steel, Colorbond Steel, Zincalume, galvanised steel, stainless steel, aluminium, mild steel and sheet metal across different service groups. That does not mean every material is suitable or available for every shape, finish, quantity or use. It means the enquiry should state the intended material family so the discussion can stay specific.
Finish can also decide the route. About Us covers the fabrication and supply scope. A colour face on a roof trim may only need clear fold orientation. A panel with welded corners and dressed edges may require assembly thinking, even if the first sketch began as a flat sheet. If the finish has to wrap around visible corners, draw the route rather than describing it only in words.
Wesroof Scope: Place the Supplier after the Route Choice
A Wesroof enquiry should name the selected pressing or assembly route and attach the information that defines it. If the route is still unresolved, the request should say which decision is outstanding rather than disguise it as a fabrication detail.
Keep engineering approval, compliance sign-off, onsite assessment, site fitting and final acceptance with the project team.
This boundary works better after the route has been chosen. The customer first identifies the object, then the path, then the information set. Only then does the supplier conversation begin.
Comparison Close: Choose a Path before Contact
Before sending the enquiry, compare the two paths one last time. If the part is a single folded profile, send the pressing drawing, material, finish side, quantity and revision. If it is a joined object, send the overall view, component list, join notes, openings, finish expectations and any supplied-by-others items. If it sits between both, split the request into stage one and stage two rather than forcing the answer.
Stage the Enquiry
Stage one can ask whether the profile and material notes are clear enough for a pressing discussion. Stage two can identify which joined corners, brackets, frames, covers or secondary pieces may turn the work into a fabricated assembly. That approach makes uncertainty visible without asking the workshop to fill project gaps.
Check the attachments against the chosen path. A single-component request should not arrive with five unrelated photos and no fold sketch. An assembly request should not arrive with only a profile section and no view of how the pieces join. If the item is a replacement, mark what is known and what has been measured by the project team. If it is part of a later repeat run, keep the accepted revision beside the quantity note.
A quick reject test helps. If someone who has not seen the job cannot tell whether the object is one formed piece or several joined pieces, the file is not ready. Add the missing sketch, note or component view before contact.
When the decision route is ready to share, Contact us to send the pressing or assembly brief.

Leave A Comment